Using the Backup Manager
What is it?
The backup manager in Cheyenne's ARCserve package allows you to backup selected files and computers over the network onto the desired media. The backup manager gives you greater control over certain options than the backup wizard, such as job scheduling and media options.Backing up files consists of five major phases:
1. Starting the Backup Manager
2. Selecting the Source
3. Selecting the Media
4. Scheduling the time
5. Running the Job
1. Starting the Backup Manager
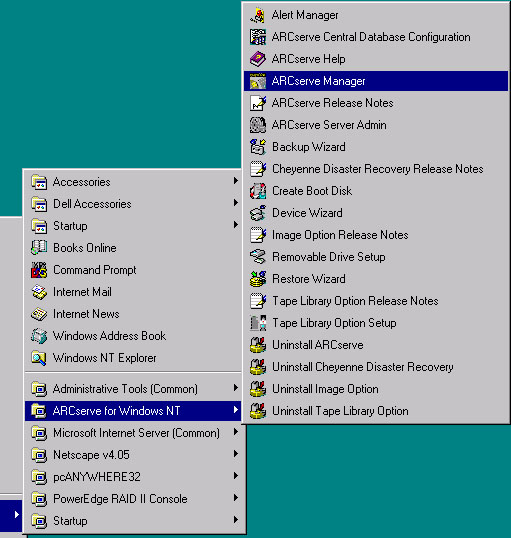
Open ARCserve Manager from the Start Menu.The path is typically Start | "ARCserve for Windows NT" | "ARCserve Manager".
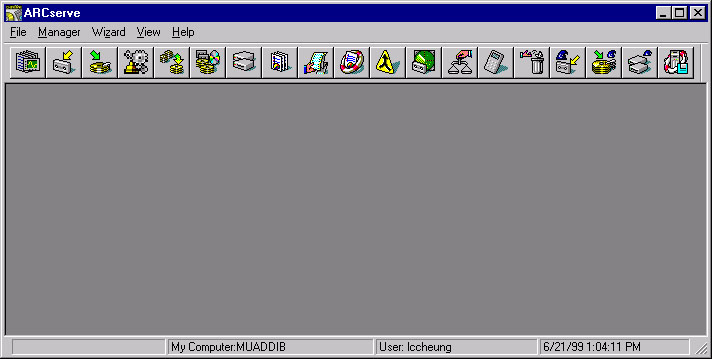
The first screen in the ARCserve manager should resemble the following
image.
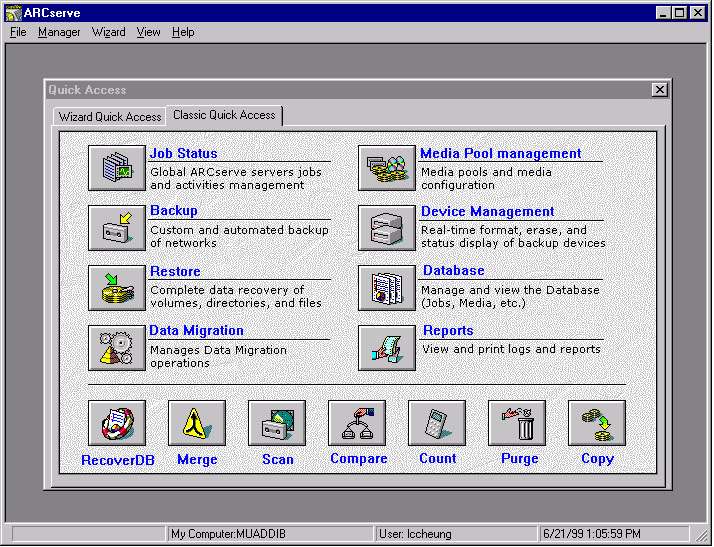
If the QuickAccess option is turned on, then ARCserve manager might
present the following window below.
Click on "Quick access toolbar" in the View menu to turn on the
toolbar setting.
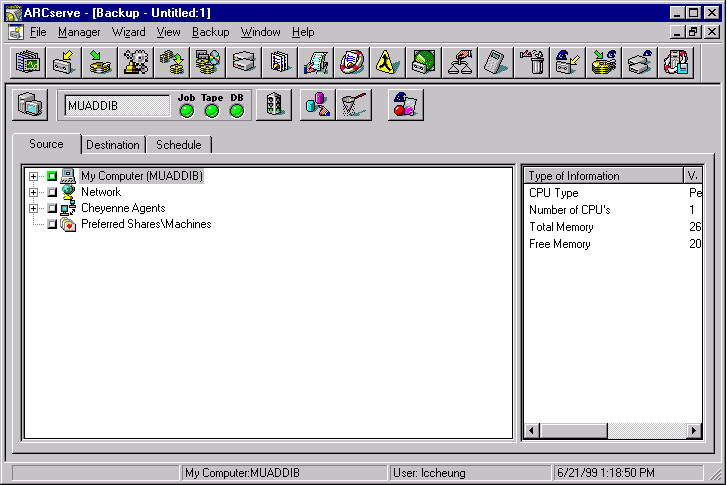
Now click on the backup icon ![]() to access the backup manager. This should bring up the following
backup manager window.
to access the backup manager. This should bring up the following
backup manager window.
2. Select the Source
Click on the source tab.Using the tree window, select the computers, directories, and files you wish to backup. Selected files are indicated by a green rectangle
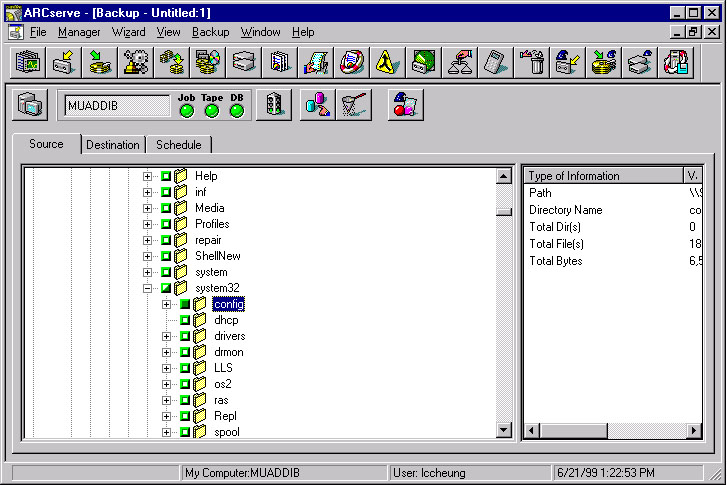
If you do not have sufficient permission to access a specific directory
or computer, ARCserve will prompt your for a login and a password.

3. Select the destination
Click on the Destination tab to the right of the Source Tab.Highlight the specific tape you wish to use. In this example we have selected the media MONDAY in group GROUP1 to store the backed-up files. You can also highlight particular group as a destination, in which case ARCserve will use the first available media to store the files.
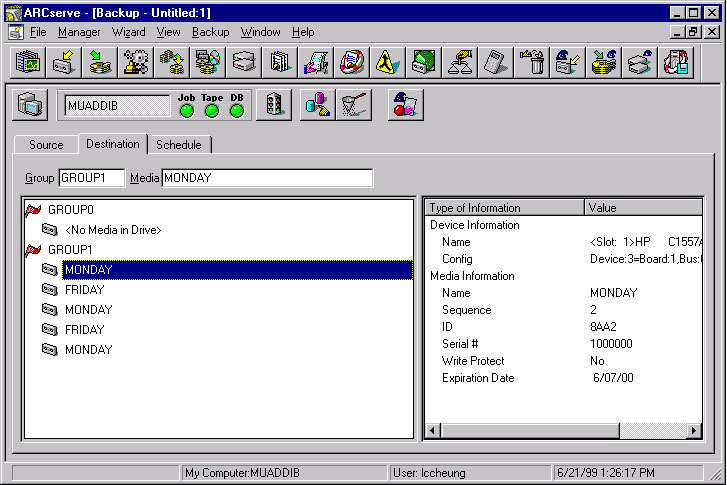
If no formatted or available media is present, you can format or erase
certain media by right clicking on the media to bring up the device menu.
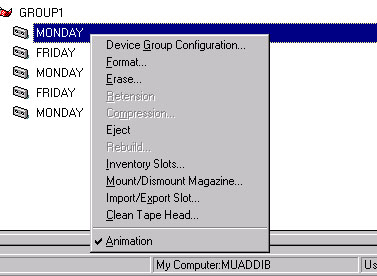
Several other options and explanations about their functions are also available in the device manager menu.
4. Scheduling the Time
Click on the Schedule Tab next to the Destination tab.This should bring the scheduling window below.
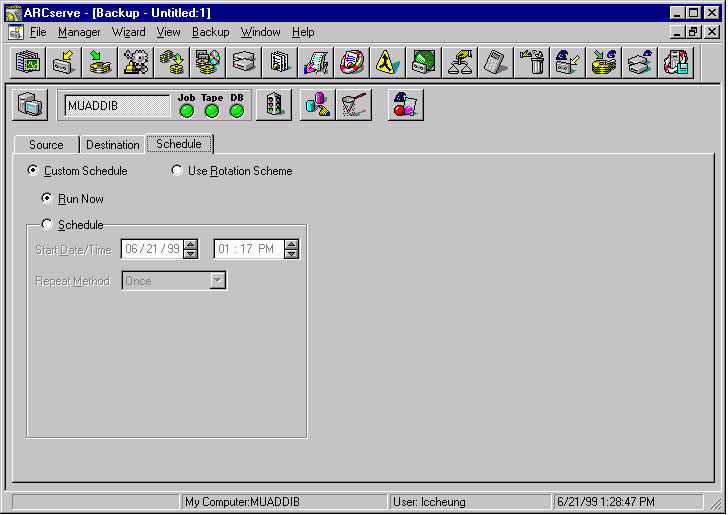
In many cases the default option, "Run Now" will suffice. However, when the media is currently busy or some other activity prevents an immediate backup, a given time may be scheduled. Clicking on the radio button labeled "Schedule" will activate the Start Date/Time and Repeat Method fields. This will allow the backup to occur at some set time in the future.
If, at the scheduled time, the media is busy with some other task, the job engine will automatically begin the job at the first available opportunity.
Click on the stoplight button ![]() to automatically submit the backup job.
to automatically submit the backup job.
5. Running the job
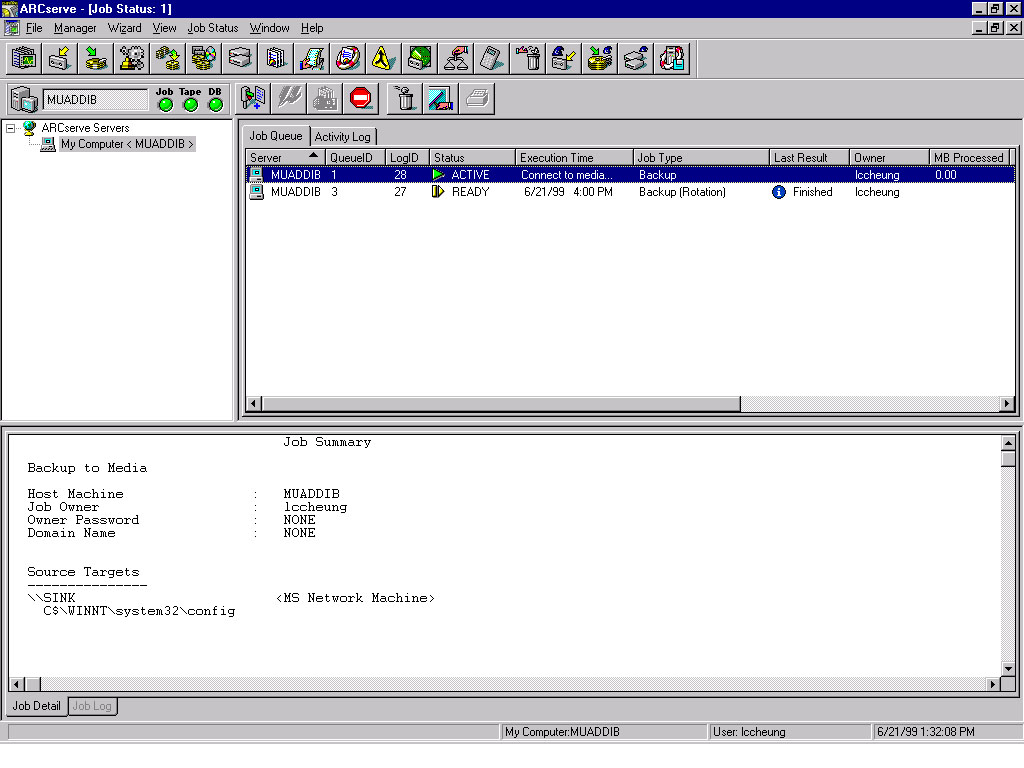
Once the backup job is submitted, it is handled by the Job Manager.To view the progress of the submitted job or the current job being processed, click the job icon.
This brings up the job status panel. From here the job queue is visible, showing what jobs ARCserve has completed, what it is currently processing, and what jobs remain to be processed.
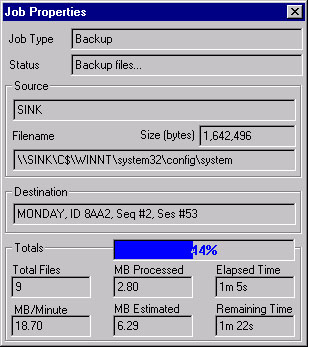
To view the current job properties, right click on a particular job in the Job Queue and select "Job Properties." This will present the "Job Properties" dialog box showing the job type, it's exact progress, and which file it is currently processing.
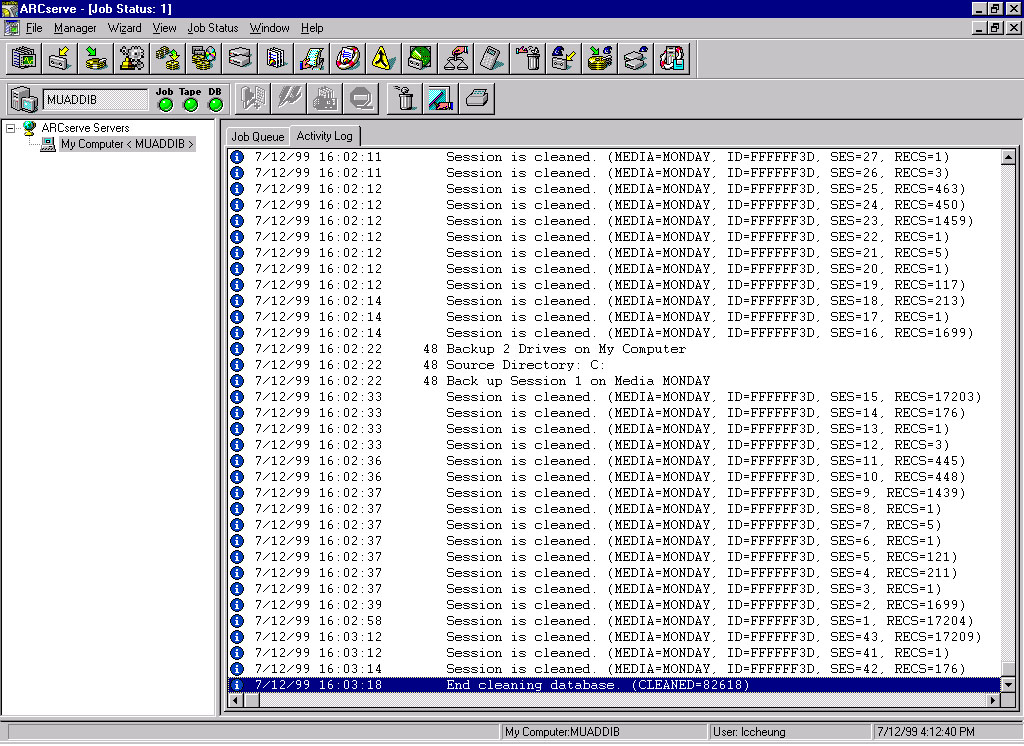
To view the record actions of ARCserve as it processes a particular
job, click on the "Activity Log" tab. This will bring up an activity
log showing the actions that ARCserve executes as the job is run.
Error and warning messages are also visible here.
To stop a job while it is active, click on the stop icon  .
.
When a job is complete, ARCserve will present message showing the results of the backup job. Click OK.